Minimum Wood Shelf Thickness Needed to Conceal Internal Steel Rods
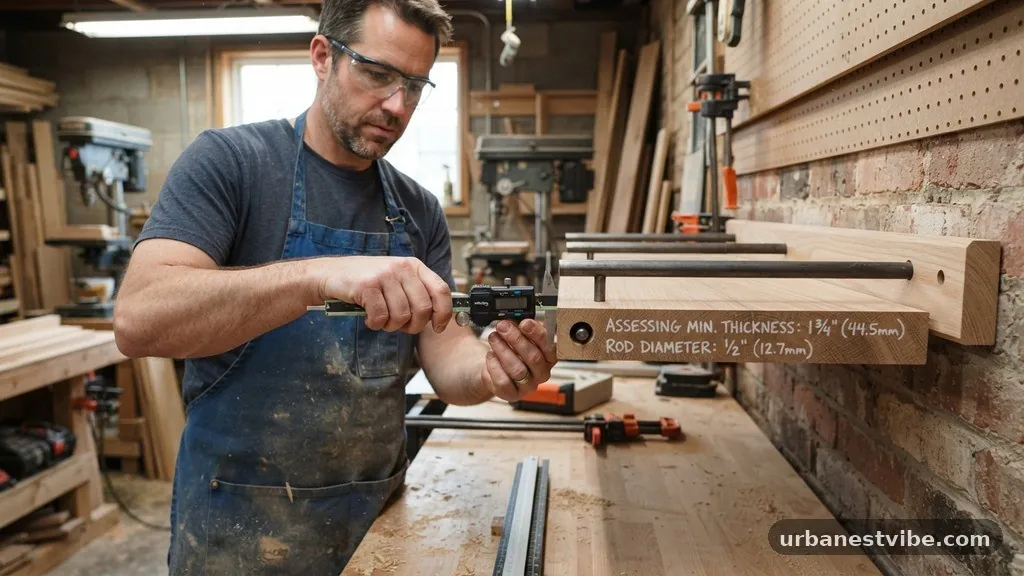
Determining the minimum wood shelf thickness needed to conceal internal steel rods is a critical step in achieving a clean, floating aesthetic for your wall storage. If your board is too thin, the steel hardware will poke through the top or bottom surface, ruining the look and weakening the structure.
Getting this measurement right ensures your support hardware remains invisible while maintaining the structural integrity of your woodworking project. By understanding the relationship between rod diameter, hole depth, and board thickness, you will gain the confidence to build durable, professional-quality shelves that appear to defy gravity.
Assessing the Diameter of Your Steel Rods
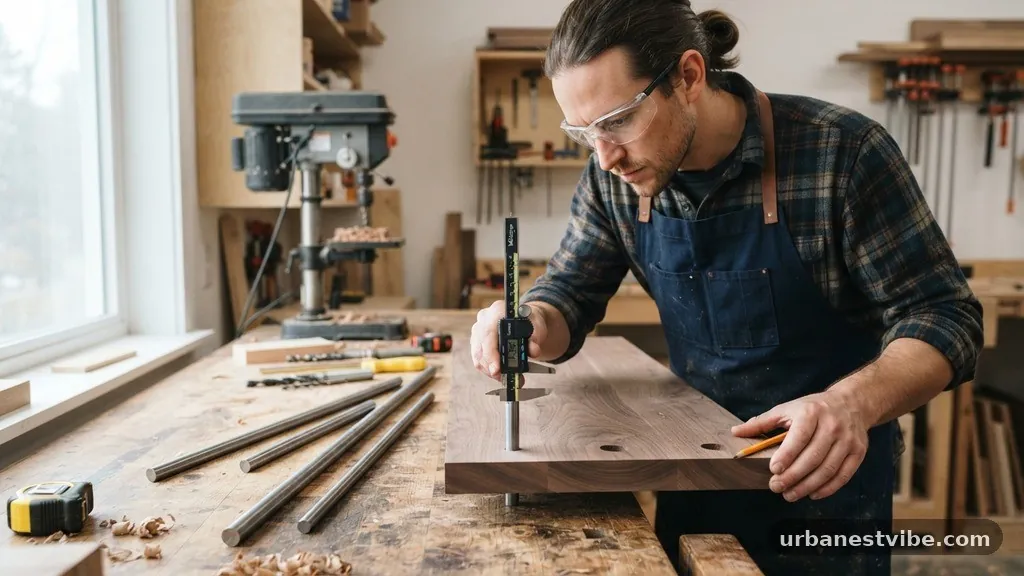
Before you select your lumber, you must identify the diameter of the steel rods you intend to use. Most heavy-duty floating shelf systems utilize steel rods ranging from 1/2 inch to 3/4 inch in diameter.
If you choose a 1/2-inch rod, you need enough wood surrounding it to prevent splitting or bowing under weight. A 3/4-inch rod offers significantly more support for heavy items, but it demands a thicker board to keep the hardware hidden.
The rod itself is only one part of the equation, as the drilled hole must be slightly wider than the steel to allow for a snug, level fit. If you are using 1/2-inch rods, your hole will likely be 9/16 of an inch or even 5/8 of an inch to accommodate the metal.
You must account for this extra width when calculating your safety margins. Placing a 5/8-inch hole inside a 3/4-inch board leaves only 1/16 of an inch of wood on either side, which is dangerously thin and prone to cracking.
Calculating Structural Safety Margins
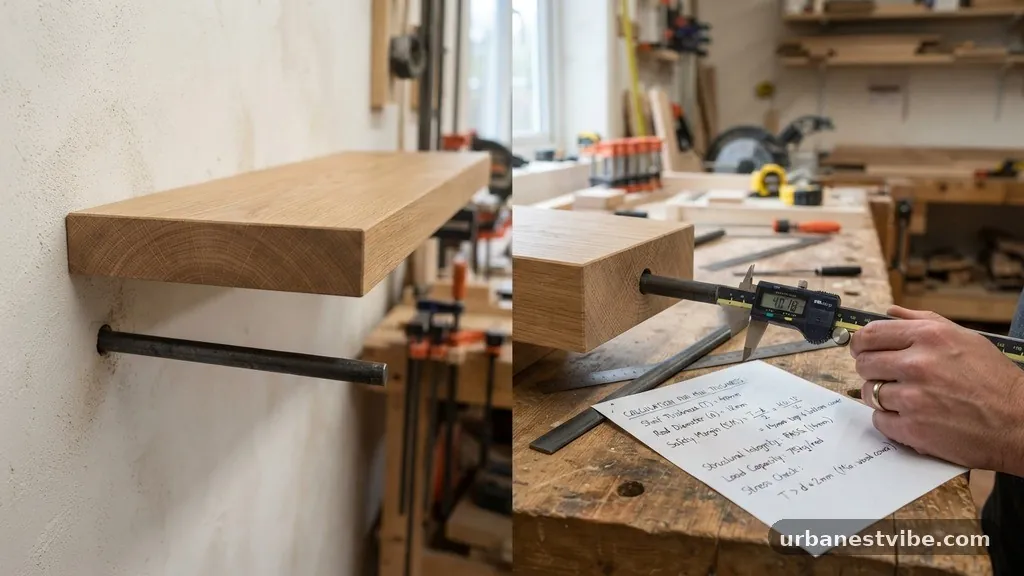
When calculating the minimum wood shelf thickness needed to conceal internal steel rods, you should aim for at least 1/4 inch of solid wood above and below the hole. This buffer acts as the structural skin of the shelf.
Without this margin, the downward pressure from heavy objects can cause the wood to delaminate or crack along the grain. If you are using a 1/2-inch rod, adding 1/4 inch of material to both the top and bottom results in a minimum shelf thickness of 1 inch.
For larger 3/4-inch rods, the math changes significantly. Using the same 1/4-inch safety margin, you would need a board that is at least 1 1/4 inches thick.
Many woodworkers prefer to go slightly thicker, aiming for 1 1/2 inches, to provide extra rigidity and room for error during the drilling process. If you push the limits of your material, you risk the wood splitting when you tighten the brackets against the wall.
Selecting the Right Wood Species
The density of your wood plays a major role in how thin you can safely go. Hardwoods like oak, maple, or walnut have tight grain patterns and excellent tensile strength, which allows them to handle the stress of internal hardware better than softwoods like pine or fir. If you are working with a softer species, you should increase the thickness of your board to compensate for the lack of structural density.
When you use soft pine, the wood fibers are more likely to compress under the weight of the steel rods. Over time, this can lead to the shelf sagging or the holes becoming oval-shaped, which results in a shelf that no longer sits level.
By opting for a hardwood, you can stick closer to the absolute minimum thickness required. If you find yourself limited by the available stock, adding a decorative edge strip can help you achieve the visual appearance of a thicker shelf while using a thinner core board.
Drilling Precision and Alignment
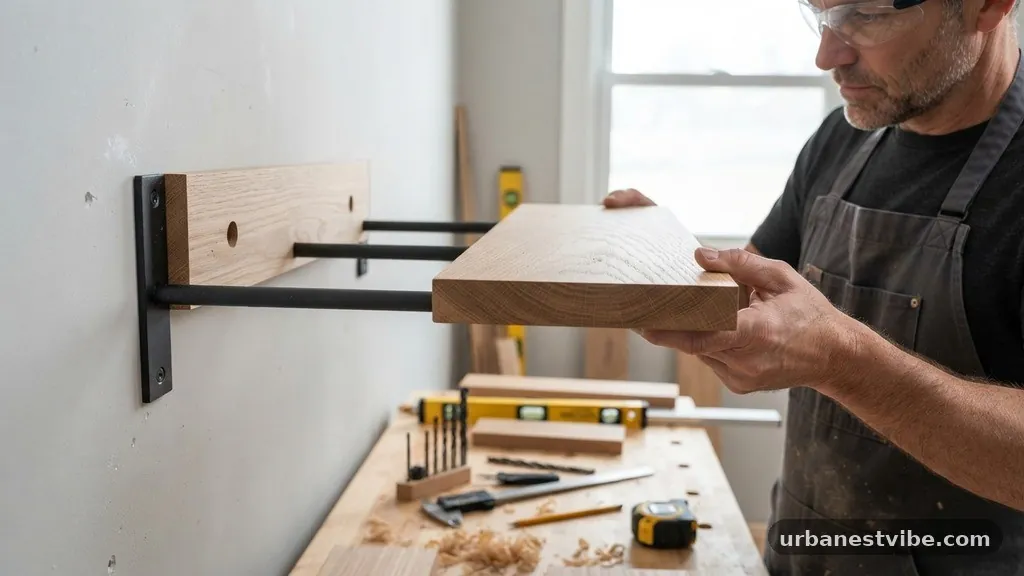
The most common mistake when installing floating shelves is failing to drill perfectly straight holes. Even if your shelf is thick enough to conceal the steel rods, a hole that drifts toward the surface will result in a blowout.
You need to use a drill guide or a drill press to ensure the bit stays centered within the wood. If your hole is off-center by even an eighth of an inch, your shelf will either be unusable or the hardware will be visible.
When you begin the drilling process, start with a smaller pilot hole to ensure your bit is tracking correctly. Once you have a pilot, move up to a spade bit or a Forstner bit to reach the final diameter.
A Forstner bit is highly recommended for this task because it cuts a clean, flat-bottomed hole that minimizes splintering. Always check the depth of your holes against the length of the rods to ensure the shelf slides all the way onto the bracket without leaving a gap at the wall.
Managing Internal Rod Length and Leverage
The length of the steel rod that extends into the shelf is just as important as the thickness of the board. If the rod only penetrates a few inches into the shelf, the leverage exerted by the weight on the shelf edge will cause it to pull away from the wall. A general rule of thumb is that at least two-thirds of the shelf depth should be supported by the steel rod.
If you are building a deep shelf, you need longer rods to maintain support. However, longer rods are harder to drill into long, thin boards without the bit wandering.
This is why thicker boards are often necessary for deeper shelves; they provide more “meat” for the rod to bite into and offer better resistance against the torque generated by the weight of your books, dishes, or decor. You can find detailed technical guidance on wood properties and structural standards through the Forest Products Laboratory to help you make informed decisions about your materials.
Dealing with Wall Studs and Mounting Hardware
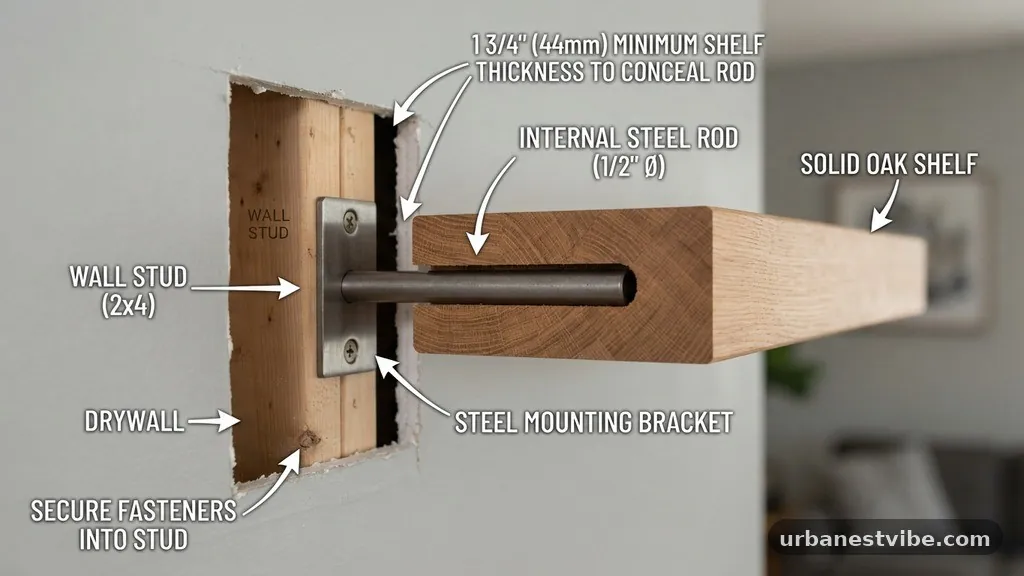
The hardware that attaches the rods to the wall is often the most overlooked part of the build. You must ensure that your steel rods are anchored directly into your wall studs. If you try to mount heavy floating shelves into drywall alone, the weight will eventually pull the fasteners through the wall, regardless of how well-constructed the shelf itself is.
When you align your rods, use a stud finder to locate the center of the framing members. Once identified, drill your mounting holes with precision to ensure the spacing of your rods matches the holes in your shelf perfectly.
If the rods are not perfectly parallel, the shelf will bind as you try to slide it on. This binding can put extreme pressure on the internal wood fibers, potentially causing the shelf to crack from the inside out if the wood thickness is inadequate.
Optimizing Shelf Depth for Stability
Deep shelves are inherently more difficult to support than shallow ones. As the distance from the wall increases, the downward force on the steel rods increases exponentially.
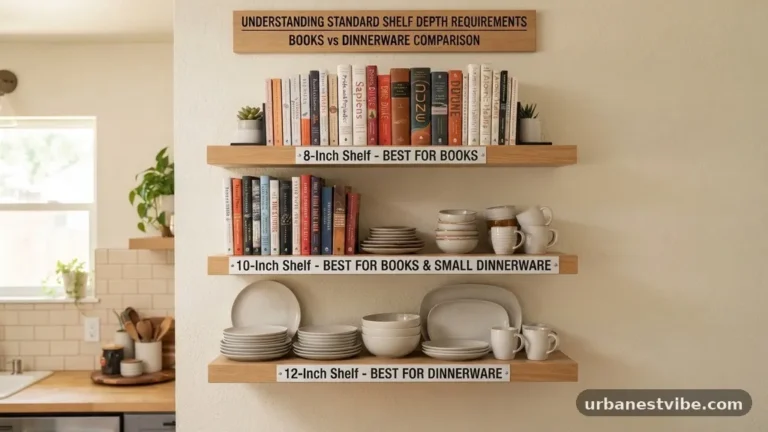
If you are planning a deep shelf, you must prioritize a thicker board, even if the rod diameter remains the same. A 12-inch deep shelf requires much more structural support than a 6-inch deep shelf.
If you find that your chosen wood thickness is not enough to support the depth you want, consider using a torsion box design. This involves building a hollow frame and skinning it with thinner wood.
This method allows you to create a thick, stable shelf that is lightweight and rigid, effectively bypassing the limitations of solid wood boards. It is a more advanced technique, but it is often the preferred solution for large, floating installations.
Avoiding Common Drilling Mistakes
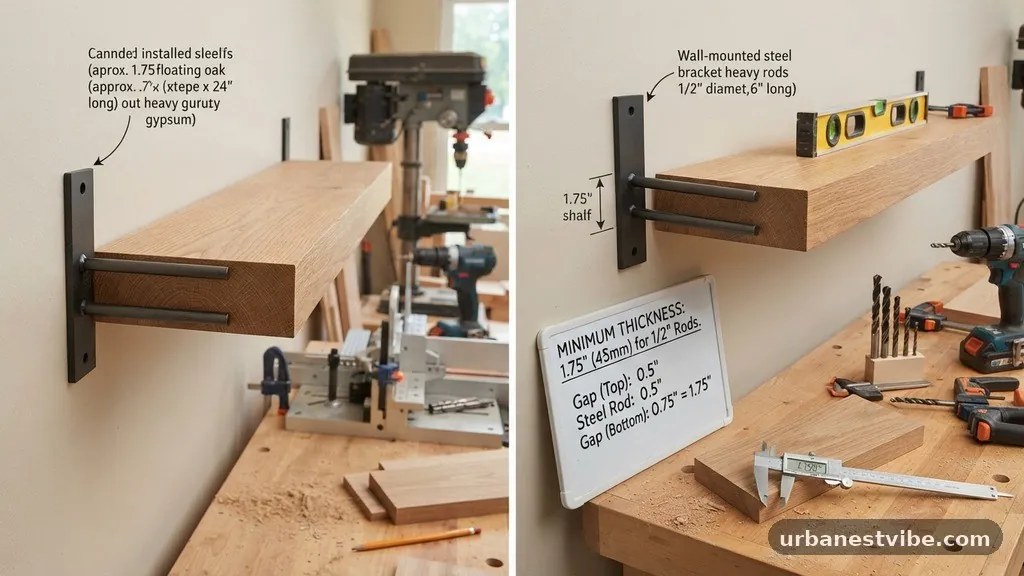
One of the biggest issues woodworkers encounter is the “wandering bit.” When you drill into the end grain of a long board, the bit often follows the path of least resistance, which is usually the softer earlywood rings of the timber. This causes the hole to curve slightly, which will make it impossible to slide the shelf onto the mounting rods.
To prevent this, use a long-reach bit and take your time. Drill a small amount, pull the bit out to clear the shavings, and check your alignment.
If you are drilling into a very long board, it is often better to use two shorter boards that are glued together with a groove pre-cut into the joining faces. This allows you to create a perfect channel for the rod before the shelf is even assembled, ensuring the hardware is perfectly centered.
Finishing Techniques to Enhance Appearance
Once the shelf is built and the rods are hidden, the finish you apply can either highlight or mask the quality of your work. If you have done an excellent job of concealing the hardware, a clear finish will showcase the natural grain of the wood. However, if you are worried about small gaps or slight imperfections around the entry point of the rods, a darker stain or a painted finish can help hide these areas.
Be careful not to get glue or finish inside the holes where the rods go. If the fit is tight, even a thin layer of polyurethane can make it impossible to slide the shelf onto the brackets. Mask off the entry holes with painter’s tape before you begin the staining or sealing process to ensure the shelf slides on smoothly when you are ready for final installation.
Frequently Asked Questions
What is the absolute minimum thickness for a floating shelf?
The absolute minimum thickness depends on the weight of the items being stored, but for most residential applications using 1/2-inch rods, you should not go below 1 inch. Anything thinner than 1 inch will likely result in the wood splitting or the rods being visible once the shelf is loaded with weight.
Can I use plywood for floating shelves?
Yes, plywood is an excellent choice for floating shelves because it is dimensionally stable and less prone to warping than solid wood. However, you should use high-quality furniture-grade plywood and consider edge-banding the front to hide the layers, which will give the appearance of a solid, thick slab.
How do I know if my shelf is sagging?
A sagging shelf is usually caused by the rod not reaching deep enough into the board or the wood being too thin to support the torque. If you notice the shelf tilting downward at the front edge, it is a sign that the connection between the wall bracket and the wood is failing. You may need to add additional support or increase the thickness of the shelf.
Should I glue the shelf to the rods?
It is generally not recommended to glue the shelf to the metal rods. You want to be able to remove the shelf for cleaning or wall maintenance. If the fit is loose, you can use a small set screw on the underside of the shelf to secure it to the rod, which is much more practical than permanent glue.
What if my wall studs are not perfectly spaced?
If your studs are not spaced to match your shelf requirements, you have a few options. You can use a metal backer plate that spans across multiple studs, allowing you to mount your rods at any position along the plate. This is the most professional way to handle irregular stud spacing and ensures a secure, level installation.
Conclusion
Achieving a clean floating look requires careful planning and an understanding of the relationship between your hardware and your materials. By ensuring you have at least 1/4 inch of wood surrounding your steel rods, you create a structure that is both stable and aesthetically pleasing. Remember that the minimum wood shelf thickness needed to conceal internal steel rods is not just about aesthetics; it is about the physical longevity of your project.
Whether you are using hardwoods or high-grade plywood, taking the time to drill accurately and choose the right rod diameter will result in a professional finish. If you encounter challenges during your build, do not hesitate to adjust your design to prioritize structural safety. Start by selecting your rods and then build your shelf thickness around them for the best results.