Does Every Floating Shelf Bracket Need to Hit at Least Two Wall Studs?
Deciding whether you need to anchor your hardware into wall studs is a common point of confusion for homeowners. Many people wonder if it’s strictly true that every floating shelf bracket must hit at least two wall studs to remain secure. While hitting two studs is the gold standard for structural integrity, it is not always a universal requirement for every lightweight display.
Understanding the balance between shelf length, intended load, and wall composition is essential for a successful installation. You will learn how to evaluate your wall’s support capacity and determine when alternative anchors are appropriate, ensuring your decor stays exactly where you placed it.
Understanding the Mechanics of Floating Shelf Support
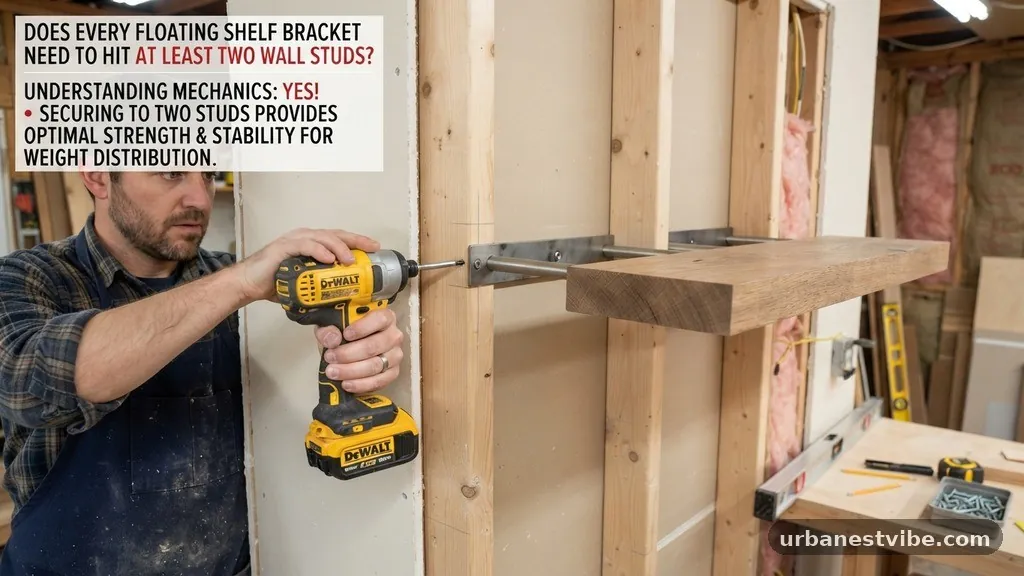
A floating shelf is essentially a cantilever system. The bracket acts as a lever arm, and the wall serves as the fulcrum.
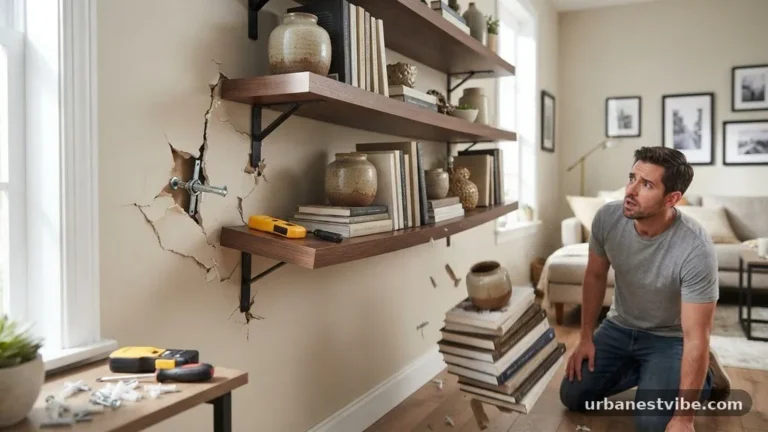
When you place an object on the shelf, the weight creates a downward force at the outer edge, which translates into a tremendous pulling force on the top mounting screws. If the screws are only biting into drywall, they will eventually pull out because the plaster or gypsum board lacks the density to hold them under tension.
When you mount a bracket into a solid wood stud, you are anchoring into the structural skeleton of your home. A standard 2×4 stud provides a deep, dense surface that grips the threads of your screws firmly.
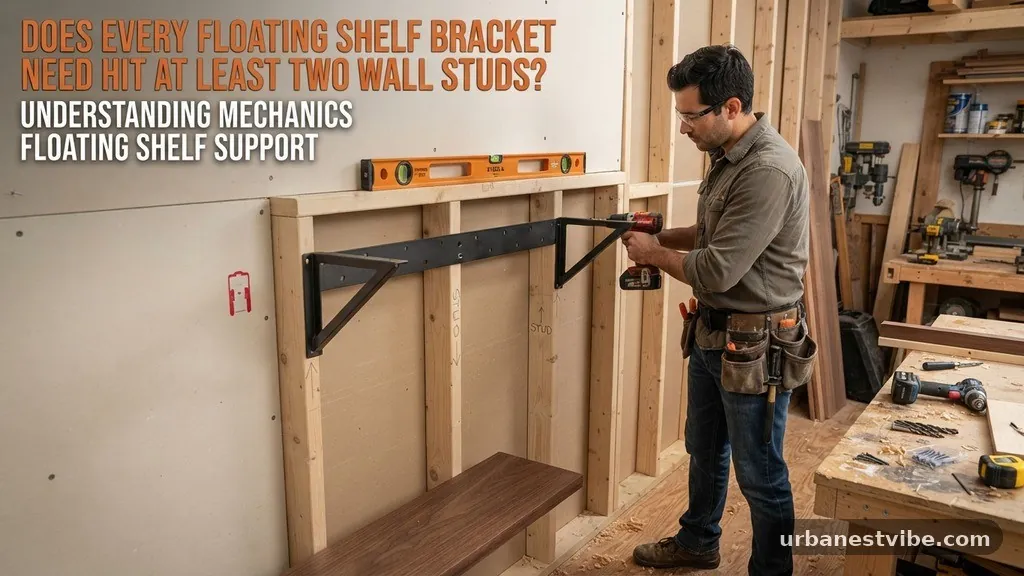
This is why carpenters always recommend hitting at least one stud for smaller shelves and two for anything spanning more than 24 inches. If you skip the stud, you are relying entirely on the strength of your drywall, which is rarely sufficient for anything beyond light decorative items like small picture frames or candles.
Evaluating Your Wall Composition
Before you grab your drill, you need to know what lies behind your drywall. Most modern homes feature standard timber framing, but you might also encounter metal studs in high-rise apartments or masonry in older homes.
Metal studs require specific self-tapping screws and often behave differently than wood when it comes to holding weight. Masonry walls, on the other hand, are incredibly strong but require masonry bits and specialized expansion anchors.
You can use a high-quality magnetic stud finder to identify the location of your framing members. If you find that the spacing of your wall studs does not align with the holes in your shelf bracket, you have a few options.
You can either shift the shelf slightly to align with the studs, or you can use a backer board—a piece of wood screwed into the studs that allows you to mount the shelf bracket anywhere along its length. Never assume that the wall will hold the weight simply because it feels firm when you press on it.
When One Stud Is Sufficient
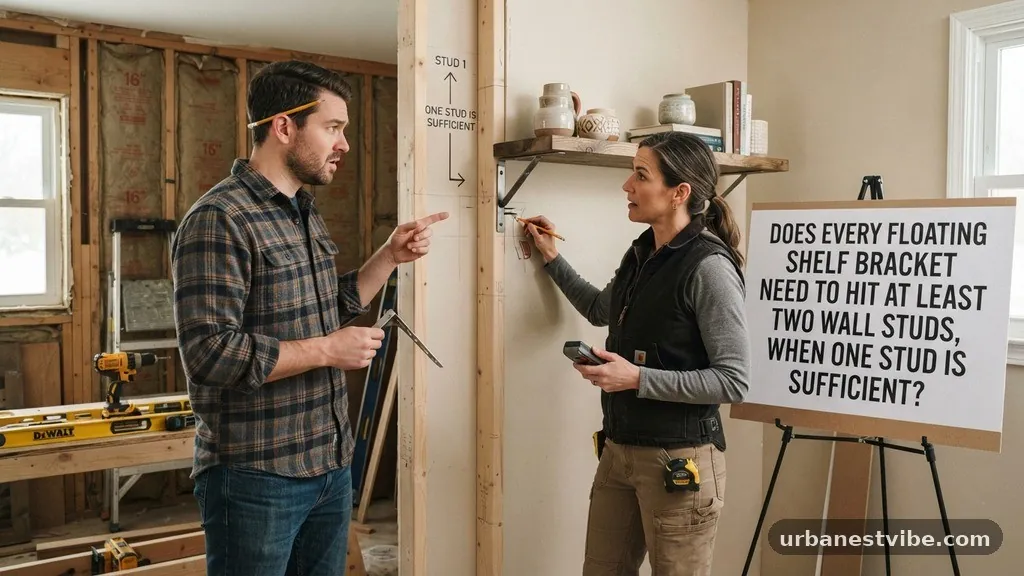
Not every installation requires a multi-stud connection. If you are mounting a small “floating shelf” that is less than 18 inches wide and intended only for a few lightweight items, a single stud connection can be perfectly safe.
In this scenario, the primary goal is to ensure the bracket remains level and does not rotate. You would use one heavy-duty screw driven into the center of the stud and then use high-quality toggle bolts in the remaining holes to stabilize the bracket against the wall.
This approach works well for narrow shelves in bathrooms or kitchens where space is limited. However, you must be honest about the weight.
If you plan to load the shelf with heavy books or ceramic dishes, a single stud will likely cause the shelf to sag or tilt over time. Always check the manufacturer’s weight specifications, which you can find through the International Association of Certified Home Inspectors guide on wall fasteners.
The Role of Toggle Bolts and Anchors
If you find that your bracket holes do not line up with any studs, you might be tempted to use standard plastic wall plugs. Avoid these for floating shelves at all costs.
Plastic anchors are designed for shear strength—meaning they hold weight pulling straight down—but they fail miserably under the tension (pulling out) that a floating shelf bracket creates. Instead, opt for toggle bolts or molly bolts.
Toggle bolts work by expanding behind the drywall, spreading the weight over a larger surface area on the backside of the wall. When you tighten the bolt, the metal wings collapse against the rear of the drywall, creating a much stronger hold than any screw could achieve on its own.
While these are excellent, they are still not a substitute for a stud when you are dealing with heavy, long-term loads. If you are hanging a shelf that will hold more than 15 pounds, you should prioritize hitting at least one stud and use the toggle bolts only for secondary support.
Managing Shelf Depth and Leverage
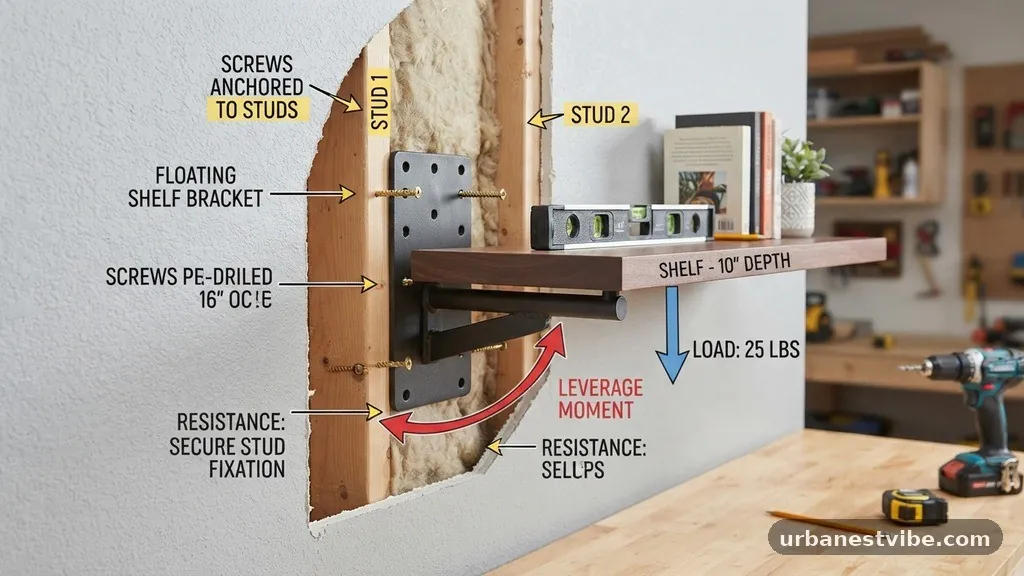
The depth of your shelf is perhaps the most important variable in the equation. A shelf that is 4 inches deep exerts far less leverage on the mounting hardware than a shelf that is 10 inches deep.
As the shelf depth increases, the distance between the load and the wall increases, which multiplies the force acting on the top mounting screws. This is why deep shelves almost always require a very secure connection to the building frame.
If you are building a deep shelf, you should look for brackets with a long backplate. A longer backplate allows you to hit multiple studs even if the stud spacing is irregular.
If your bracket backplate is short, you are limited to the specific distance between your wall studs. In cases where the bracket is too short to reach a second stud, you might need to reconsider the shelf design or install blocking behind the drywall to create a solid mounting point.
Identifying the Correct Tools for the Job
Using the right tools makes the difference between a secure installation and a loose, wobbling shelf. You will need a reliable stud finder, a spirit level, a power drill, and the correct drill bits.
A common mistake is using a dull drill bit, which can tear the drywall and leave a hole that is too large for your anchor to grab properly. Always start with a small pilot hole to ensure you are centered on the stud.
When driving your screws, use a manual screwdriver for the final turn to avoid stripping the wood or the screw head. If you are using toggle bolts, make sure you have the right size drill bit for the toggle mechanism to pass through the drywall.
If the hole is too large, the toggle will not have a solid surface to grip, leading to a loose connection. Keeping your tools clean and sharp ensures that every hole is precise and every screw holds its maximum potential weight.
Common Mistakes to Avoid
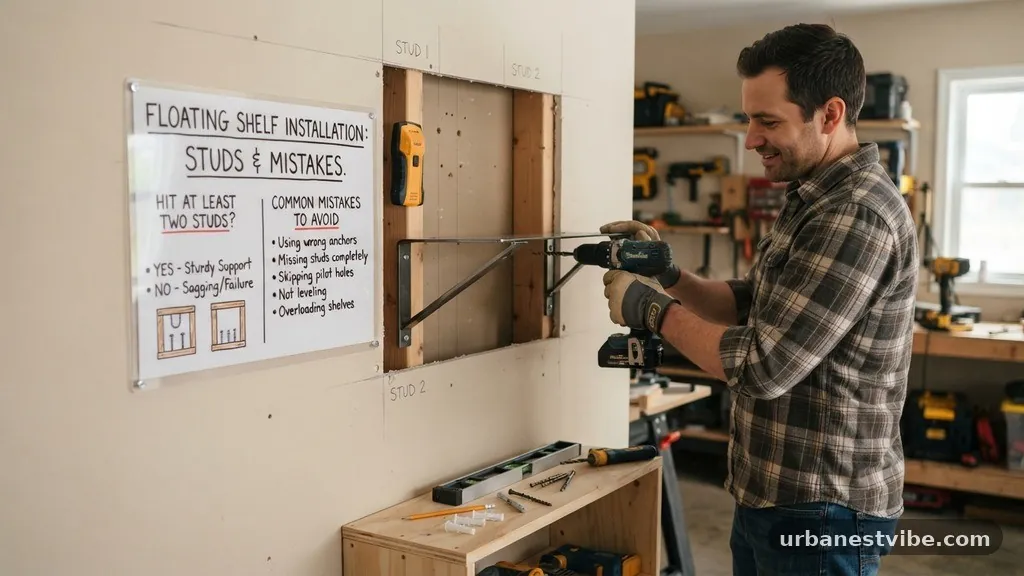
Many DIYers fail because they try to force a bracket to work where it doesn’t fit. A major mistake is assuming that “heavy-duty” drywall anchors are sufficient for a floating shelf.
While these anchors are great for hanging mirrors or artwork, they are not engineered for the constant leverage of a shelf. Another common error is failing to check for electrical wires or plumbing pipes before drilling.
Always use a non-contact voltage tester to scan the area where you intend to drill. It is also important to avoid “over-tightening” your screws into drywall. If you strip the gypsum, the anchor will spin in the hole, rendering it useless.
If you feel the screw spinning, stop immediately and use a larger toggle bolt or move to a different location. Patience is your best friend when installing shelves; rushing the process usually leads to a shelf that sags or pulls away from the wall.
Using a Cleat for Extra Support
If you are struggling to hit studs, you might consider installing a wood cleat. A cleat is a horizontal strip of wood that you screw directly into the studs first.
You then mount your floating shelf bracket onto the cleat. This allows you to position your shelf anywhere along the wall, even if there are no studs behind the exact spot you want the shelf to go.
The cleat effectively transfers the weight of the shelf to the studs via the screws you used to mount the cleat. You can paint the cleat to match your wall color, making it virtually invisible, or you can build it into the back of a custom shelf so it remains hidden.
This is a professional technique often used in custom cabinetry and high-end home storage solutions. It provides a level of security that anchors simply cannot match.
Testing for Structural Integrity
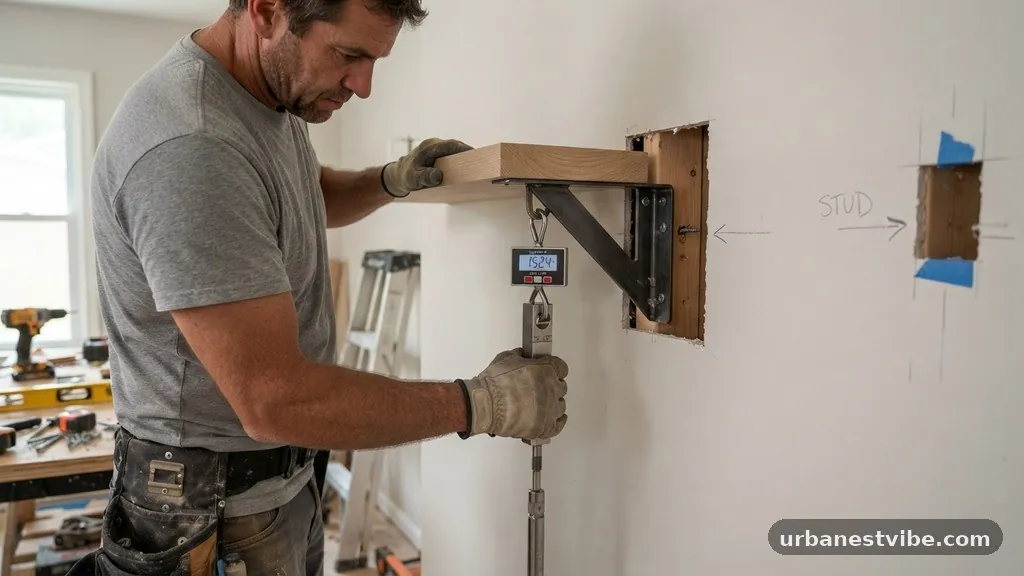
Once you have installed your brackets, take the time to test them before loading them with your valuables. Apply firm pressure to the end of the brackets to see if there is any movement in the wall.
If you see the drywall dimpling or the screw head pulling into the wall, the installation is not secure. You should add more screws into the stud or use a different anchoring method.
Remember that weight distribution matters. Place your heaviest items closer to the wall, where the bracket is strongest. If you have a long shelf, keep the heaviest items over the areas where the bracket is anchored to a stud.
This simple habit prevents the center of the shelf from bowing and reduces the long-term stress on your hardware. If you are unsure about the hold, it is always better to err on the side of caution and add an extra bracket.
The Impact of Wall Surface Material
The material of your wall dictates the type of hardware you must use. If you are working with plaster and lath—common in homes built before the 1950s—be aware that the plaster is brittle and will crack easily if you drill too close to an edge. You should use a masonry bit to carefully drill through the plaster before moving into the wood lath.
In contrast, modern drywall is soft and forgiving. However, it offers almost no structural support for heavy loads. If you are dealing with a tile backsplash, you will need a diamond-tipped drill bit and specialized anchors that can expand behind the tile and the substrate.
Never try to mount a floating shelf bracket directly onto a tile surface without first ensuring the tile is bonded well to the wall. If the tile is loose, your shelf will never be stable.
Frequently Asked Questions
Not every single installation requires two studs, but it is the safest approach for long or heavy shelves. If you are mounting a small, light shelf, one stud combined with high-quality toggle bolts is often sufficient. For anything longer than 24 inches or intended for heavy loads, hitting two studs is highly recommended to prevent the shelf from sagging or pulling away from the wall.
Can I install floating shelves on drywall without using any studs?
You can, but it is strictly limited to very lightweight decorative items. If you choose to skip the studs, you must use heavy-duty toggle bolts rather than plastic expansion plugs.
Avoid using standard screws in drywall, as they will inevitably pull out under the weight of a shelf. Always check the load rating of your anchors and ensure they are rated for the total weight of the shelf plus the items you plan to store.
What is the best way to hide the brackets on a floating shelf?
The most common method is to use a hollow-core shelf that slides directly over the bracket arms. You can also build a custom shelf with a recessed back that hides the metal hardware. If you are using an exposed bracket, consider painting it the same color as the wall to minimize its visual impact.
How do I know if my wall studs are strong enough?
Standard wood wall studs are more than strong enough to support almost any residential shelf. The main concern is whether the wood is rotted or damaged.
If you drill into a stud and the wood feels soft or crumbles, you should move to a different location. Metal studs are also sufficient, but they require specific fasteners to ensure the screw maintains a tight grip on the metal.
Why does my floating shelf sag after a few months?
Sagging is usually caused by using inadequate anchors or failing to hit a stud. Even if the shelf feels solid upon installation, the constant leverage of the weight will slowly widen the hole in the drywall if it isn’t anchored to a stud.
Over time, this creates a pivot point that causes the shelf to tilt downward. If you notice sagging, remove the weight immediately and reinforce the mounting hardware.
Closing Thoughts
Achieving a secure floating shelf installation comes down to understanding how your wall supports weight. While the ideal scenario involves hitting two wall studs, you can achieve a professional result by using high-quality toggle bolts or installing a backer cleat when stud spacing doesn’t align perfectly. Always prioritize the structural integrity of your mounting points over the aesthetic placement of the shelf.
By evaluating your wall composition and using the correct tools, you can ensure your decor remains safe and level for years to come. If you have questions about your specific wall type or bracket design, don’t hesitate to consult a local hardware professional to ensure your project is built to last. Feel free to reach out if you need further guidance on selecting the right hardware for your home.