How to Install Floating Shelves When Wall Studs Are Unevenly Spaced
Successfully installing Floating Shelves When Wall Studs Are Unevenly Spaced requires a shift in strategy from standard mounting techniques. Most DIY enthusiasts expect a perfect 16-inch or 24-inch layout, but older homes or custom framing often produce unpredictable spacing that makes traditional bracket alignment impossible.
By learning to adapt your mounting hardware and utilizing strategic backing boards, you can create a sturdy display that hides structural irregularities. This guide provides the practical steps needed to ensure your shelves remain level, secure, and visually appealing, even when the underlying wall framing refuses to cooperate with your design plans.
Locating and Mapping Your Wall Studs
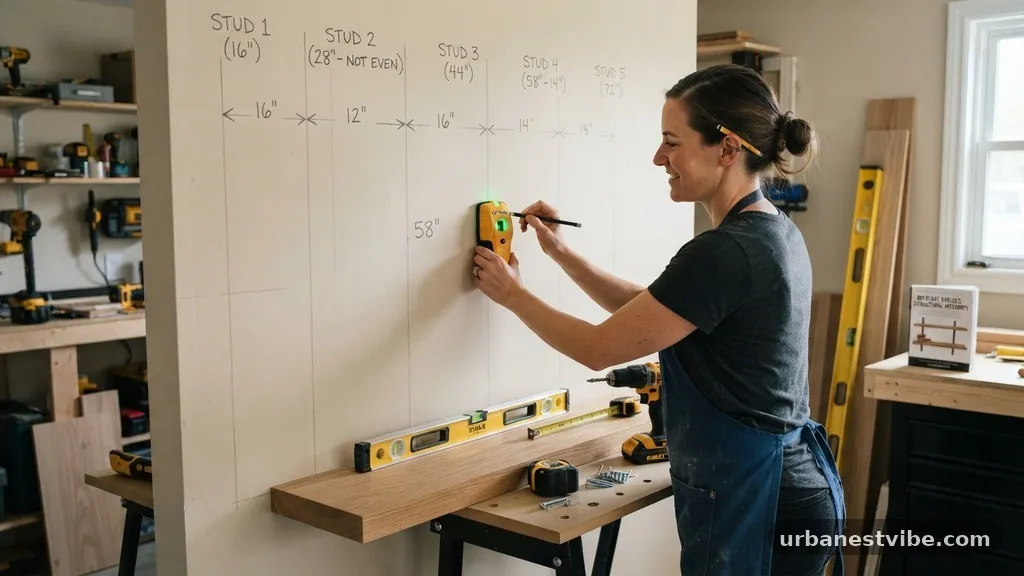
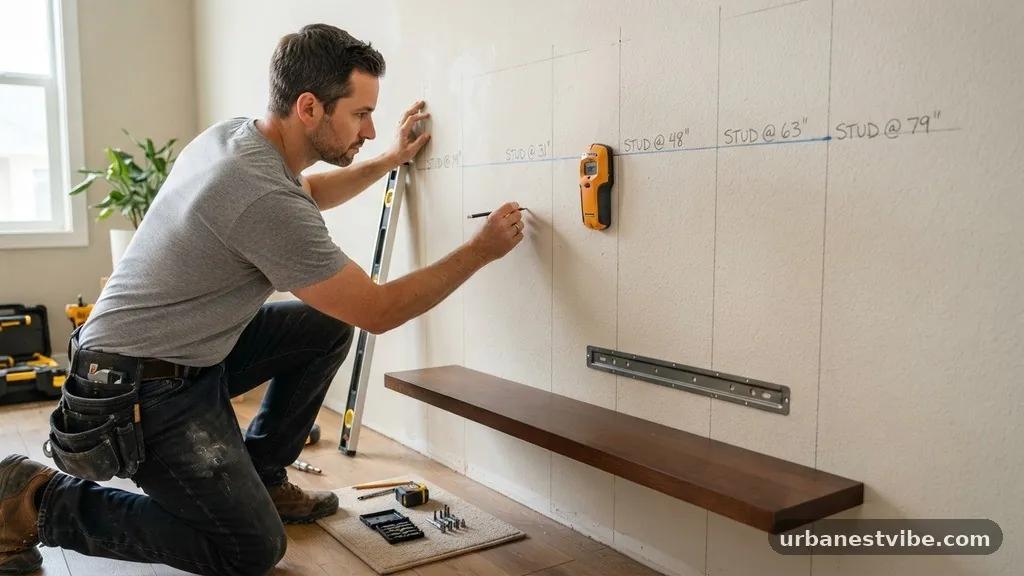
Before you even touch a drill, you must map exactly where your framing sits. Relying on a standard stud finder is a good start, but in older homes, the studs might be twisted, bowed, or simply placed at irregular intervals.
Use a high-quality magnetic stud finder to identify the screws or nails holding the drywall to the wood. Mark these spots clearly with a pencil or painter’s tape across the entire span where you intend to place your shelves.
Once you have identified the center points of the studs, draw a light vertical line through each mark. This visual aid is crucial when you hold up your shelf bracket, as it prevents you from guessing where the wood is behind the wall.
If you find that the studs are spaced at 12 inches in one area and 20 inches in another, don’t panic. This is common in older construction and simply means you will need to customize your mounting method rather than relying on the pre-drilled holes in your shelf bracket.
Evaluating Your Shelf Bracket Options
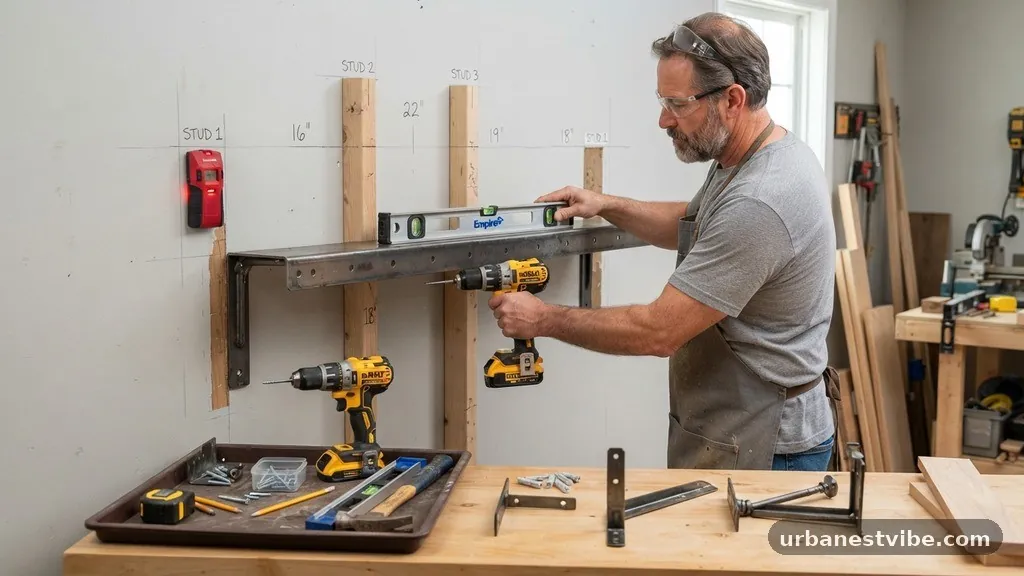
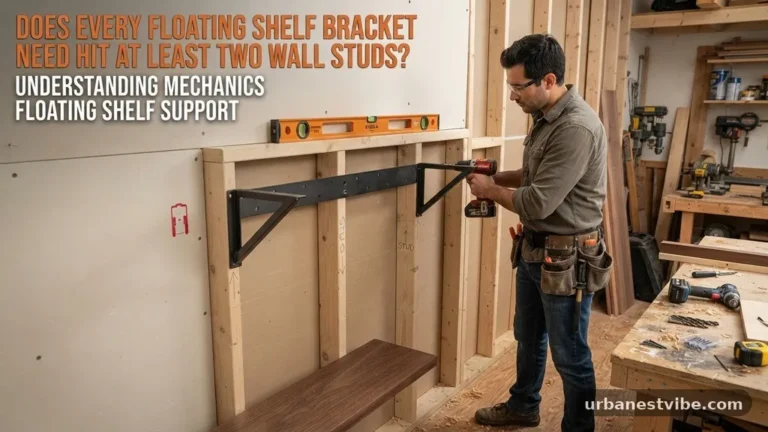
Most store-bought floating shelves come with a rigid metal bracket that assumes a uniform stud layout. If your wall studs are unevenly spaced, these factory-standard brackets will likely align with only one or two studs, leaving the rest of the shelf unsupported. You have two main choices here: modify the bracket or create a custom mounting system.
If your bracket is made of steel, you can often drill new holes into the metal bar to match your specific stud layout. Use a cobalt or high-speed steel drill bit and plenty of cutting oil to prevent the metal from overheating.
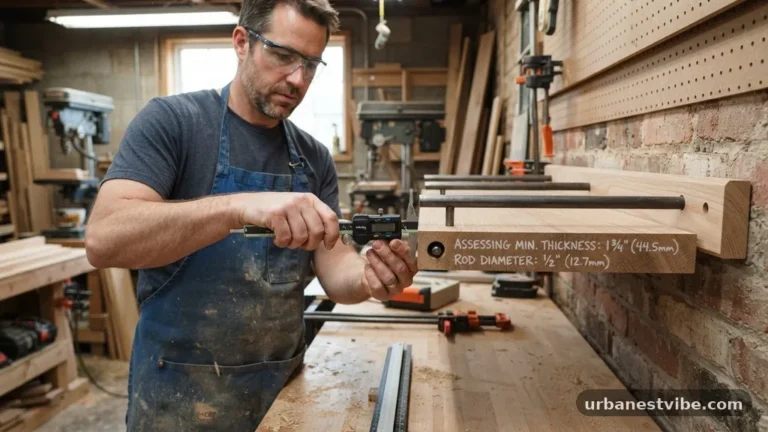
If the bracket design doesn’t allow for new holes, you might need to opt for individual rod supports. These rods are installed directly into the studs one by one, allowing you to bypass the issue of irregular spacing entirely by placing each support exactly where the wood exists.
Using Backing Boards for Stability
When you encounter studs that don’t align with your desired shelf placement, a backing board is the most professional solution. A piece of 1×4 or 1×6 lumber, painted or stained to match your wall, can be screwed directly into every available stud across the wall span. Once this board is securely fastened to the studs, it effectively creates a continuous horizontal mounting surface.
You can then attach your floating shelf hardware to this backing board at any point you choose, regardless of where the wall studs are located. This method ensures that the weight of the shelf and its contents, such as heavy books or decorative items, is distributed across multiple studs through the backing board. It is a robust way to handle irregular framing while maintaining a clean, built-in aesthetic that looks intentional rather than improvised.
Measuring for Level and Alignment
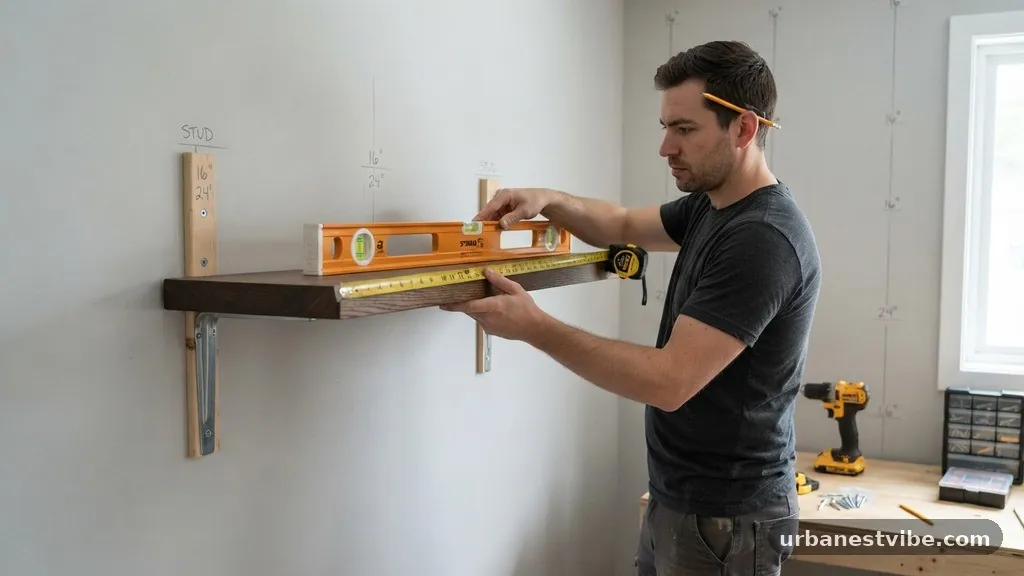
Even if your wall studs are perfectly straight, your shelves will look terrible if they aren’t level. When dealing with unevenly spaced framing, the risk of a sagging shelf increases because you might be tempted to force a screw into a less-than-ideal position. Always use a long spirit level to mark a horizontal line across your wall before installing any hardware.
If you are using a backing board, ensure that the board itself is perfectly level before you drive the first screw. If the board is crooked, the shelf will be crooked.
Use a laser level if you have access to one, as it provides a continuous reference line that is much easier to follow than a standard bubble level when marking multiple points across a long wall. Remember that your eyes are more sensitive to a shelf that is slightly tilted than they are to a shelf that is slightly off-center.
Choosing the Right Fasteners for the Job
The type of screw you use is just as important as the location. Because you are anchoring into wood studs, you need long, heavy-duty construction screws.
Avoid using standard drywall screws, which are brittle and can snap under the shear force of a loaded shelf. Instead, look for structural screws with a star drive or hex head that can handle significant tension.
If you are mounting through a backing board, ensure the screw length is sufficient to pass through the board, the drywall, and at least 1.5 inches into the stud. For further guidance on selecting appropriate hardware, refer to the National Park Service technical guidelines on building maintenance and structural attachments. Using the right fastener prevents the shelf from pulling away from the wall over time, which is the most common cause of failure in floating shelf installations.
Drilling Pilot Holes to Prevent Splitting
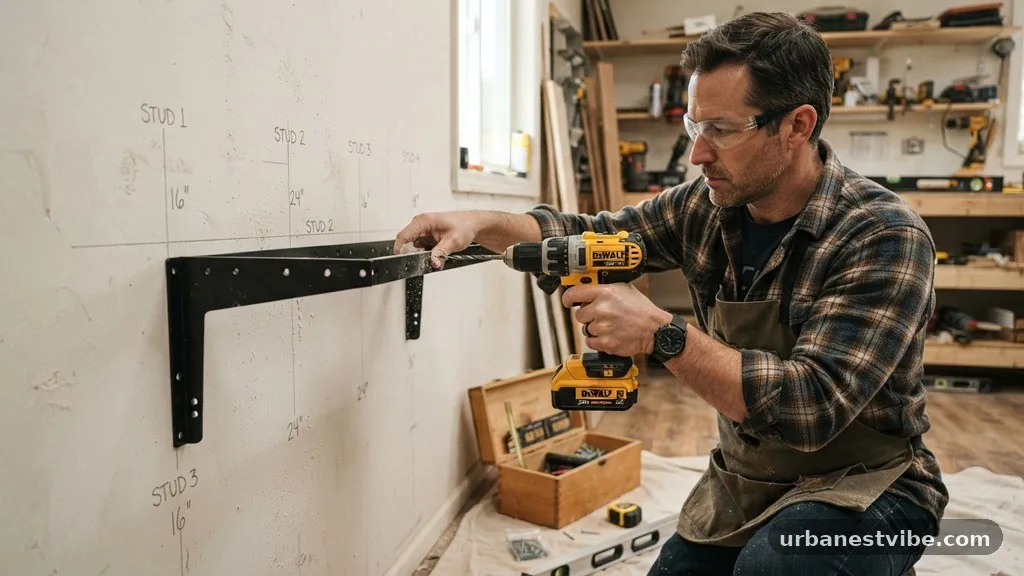
When you are driving long, thick structural screws, skipping the pilot hole is a recipe for disaster. The wood stud can easily split if you force a large screw into it, which ruins the structural integrity of that connection point. Always drill a pilot hole that is slightly smaller than the shank of your screw.
This process serves two purposes: it guides the screw perfectly into the center of the stud and it prevents the wood from cracking. For 3-inch or 4-inch structural screws, use a pilot bit that matches the diameter of the screw’s solid core. Taking the extra minute to drill these holes for every single mounting point will save you from having to move the entire shelf later because of a compromised stud.
Managing Drywall Gaps and Trim
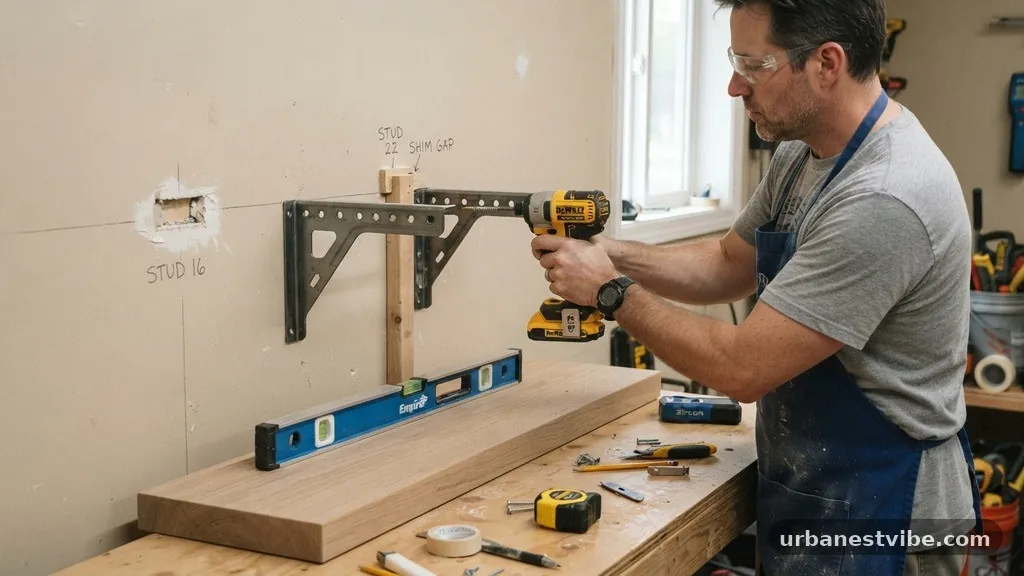
Installing Floating Shelves When Wall Studs Are Unevenly Spaced often involves working around existing trim or baseboards. If your wall is not perfectly flat, you might notice a gap between the back of your shelf or backing board and the drywall. This is normal, but it can look messy if left unaddressed.
If the gap is small, you can use a bit of paintable caulk to fill the void, making the shelf look like it is emerging directly from the wall. If the gap is larger due to a bow in the wall, you may need to scribe the back of your mounting board or shelf to follow the contour of the wall. Scribing involves using a compass to trace the wall’s uneven shape onto your board and then cutting away the excess material, allowing the shelf to sit flush against the surface.
Installing Individual Rod Supports
If you prefer the look of a shelf that has no visible bracket at all, individual rod supports are the way to go. These are steel rods with a threaded base that screws directly into the wall studs. Because each rod is independent, you aren’t restricted by the spacing of the studs.
To install these, you must be extremely precise with your measurements. Drill a deep pilot hole into the center of each stud to ensure the rod is perpendicular to the wall. If the rod enters the wood at an angle, the shelf will droop.
Use a specialized jig or a simple block of wood with a pre-drilled hole to help guide your drill bit perfectly straight into the wall. Once all rods are set, you simply slide your hollowed-out shelf onto the rods.
Common Mistakes to Avoid
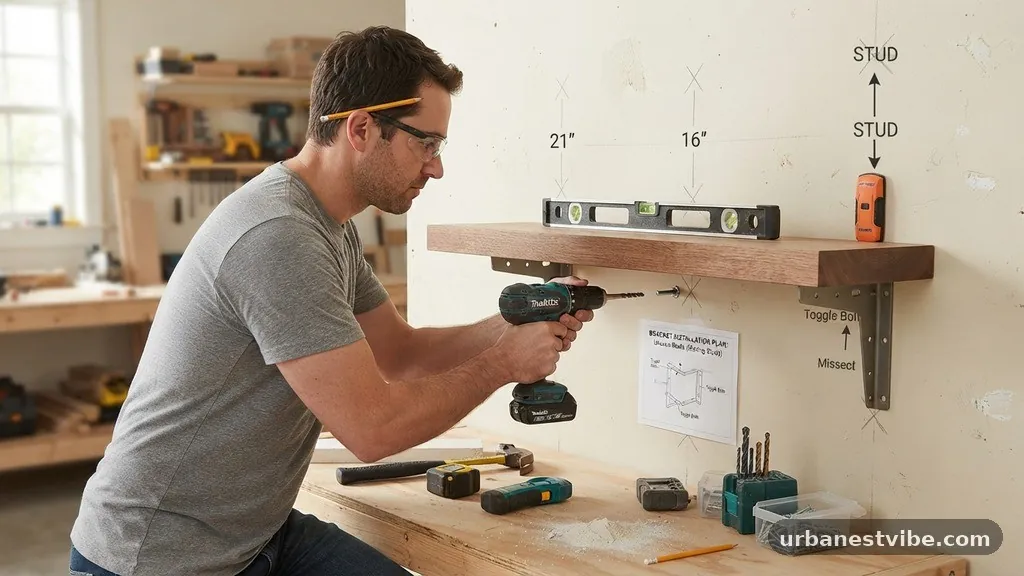
The most frequent error is assuming that the shelf bracket will provide enough support on its own without being tied into the studs. Never rely on drywall anchors for floating shelves, regardless of what the packaging claims. Drywall is too soft to hold the weight of a shelf, even with high-end toggle bolts, especially when you factor in the leverage created by the weight of books or decor.
Another common mistake is failing to account for the thickness of the drywall. If you are using a backing board, make sure your screws are long enough to reach deep into the stud.
If the screws are too short, they will only bite into the drywall or the edge of the wood, leading to a shelf that eventually sags or pulls out entirely. Always verify your fastener length before starting the installation.
Ensuring Long-Term Durability
Once your shelf is installed, give it a firm test. Apply pressure to the front edge of the shelf to see if it flexes or pulls away from the wall.
If you notice any movement, check the screws to ensure they are fully tightened. If the movement is coming from the drywall itself, you may need to add additional screws to secure the backing board more firmly to the studs.
Periodically check the shelf, especially if it holds heavy items. Over time, the weight can cause the wood to compress slightly, which might require a quick quarter-turn of the mounting screws to tighten everything back up. Maintaining your installation ensures that your shelves remain as safe as they are beautiful for years to come.
Frequently Asked Questions
How do I hide the gap if my wall isn’t perfectly flat?
If the wall is uneven, you can use a thin bead of paintable caulk along the top and sides of the shelf where it meets the wall. For larger gaps, scribing the back of the shelf or the backing board to match the wall’s profile is the best method to ensure a tight, professional fit.
Do I have to use a backing board for all floating shelves?
No, but it is the easiest way to manage uneven stud spacing. If you want a cleaner look, you can use individual steel rod supports that mount directly into each stud. This requires more precise drilling but provides a completely seamless appearance without adding extra thickness to the shelf mounting point.
What if my shelf is wider than my stud spacing?
This is perfectly fine as long as the internal support system is attached to the studs. If you are using a metal bracket, ensure that at least two studs are used for mounting. If you cannot hit enough studs, the backing board method is mandatory to ensure the shelf doesn’t pull out of the drywall.
Can I use hollow wall anchors if I miss a stud?
It is strongly discouraged to use hollow wall anchors for floating shelves. Floating shelves create significant leverage, meaning even a light load can exert massive force on the wall. Always prioritize hitting the wood studs or using a structural backing board to ensure the safety and longevity of your installation.
How far should I space my support rods?
The spacing depends on the weight the shelf will hold and the thickness of the shelf material. Generally, keeping your support points within 16 inches of each other is standard. If you are storing heavy items like books, aim for closer spacing, ideally hitting every stud that falls within the length of the shelf.
Final Thoughts
Mastering the process of installing Floating Shelves When Wall Studs Are Unevenly Spaced is a rewarding project that elevates the functionality of any room. By prioritizing structural connections over aesthetic shortcuts, you ensure that your shelves remain secure and level regardless of the challenges posed by your home’s framing. Whether you choose to utilize a custom backing board or precise individual rod supports, the key is to respect the location of the studs and use appropriate hardware that penetrates deep into the wood.
Taking these extra steps during the planning phase prevents future issues and provides a solid foundation for your decor. Reach out if you have specific questions about your wall layout or mounting hardware, and enjoy the satisfaction of a job well done.